
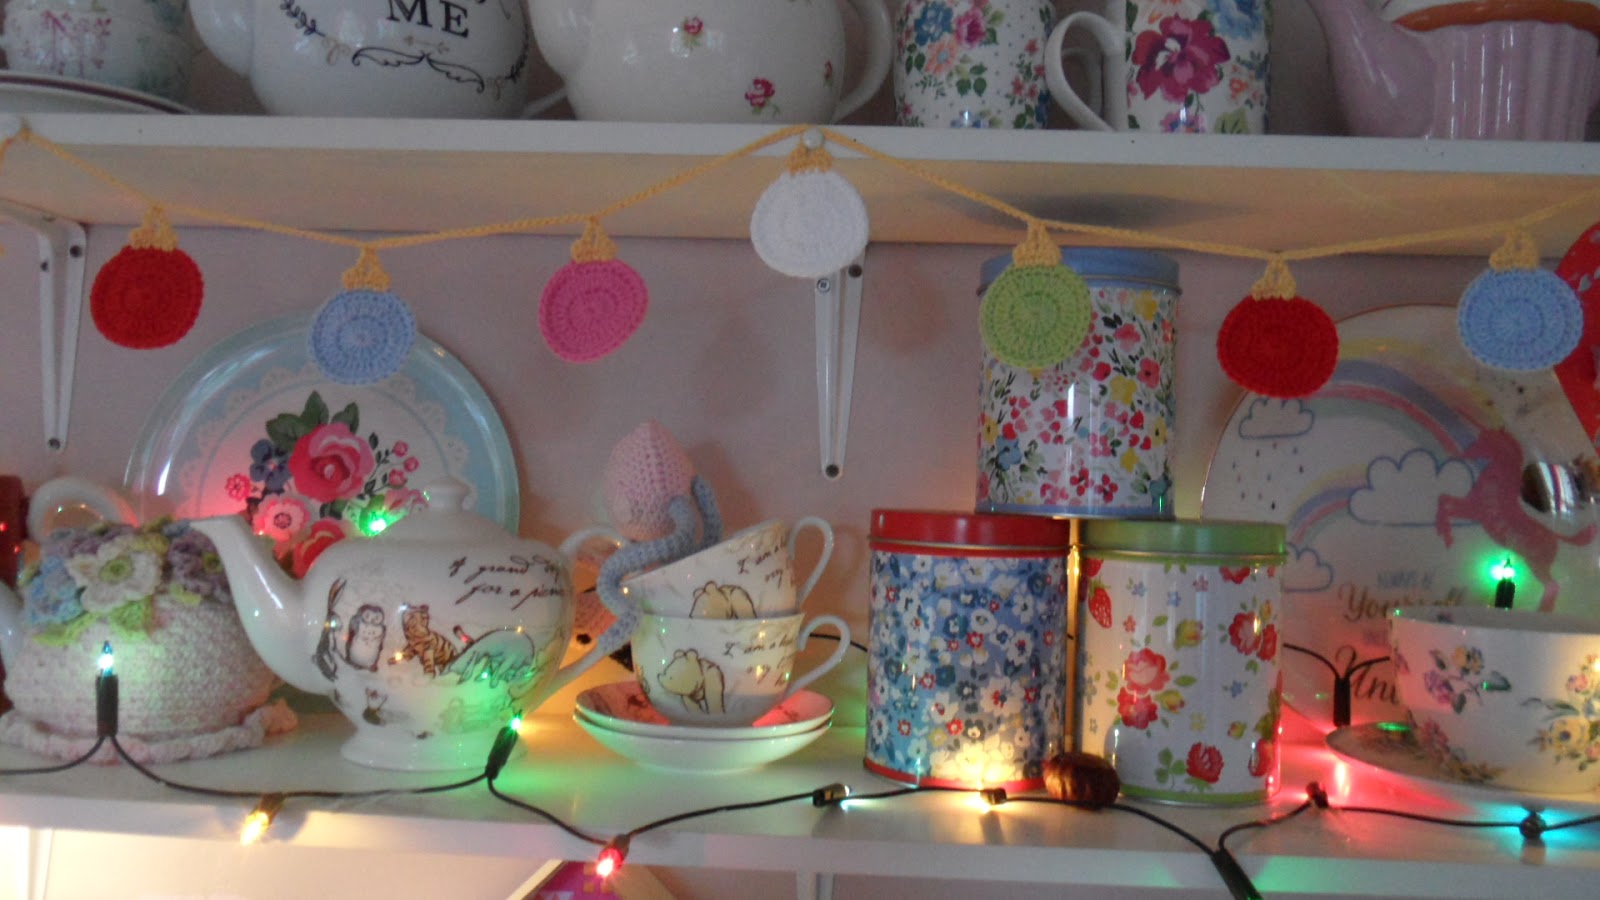
There are really quick and easy to make so you could easily hook up a set for this Christmas, or maybe several? The addition of the sparkly tassels really gives it a luxury Christmas feel!
Pattern in UK Terminology
Hook - 3.5mm
Yarn
Yarn A - Cotton DK Weight in various colours that you wish (I used Stylecraft Cotton DK Classique in Shell Pink, Fondant, Sky Blue, Peppermint, Lavender, Mauve and Fuchsia)
Yarn B - Cotton DK Weight in White
Yarn C - DMC Lumina Metallic Thread in Silver
Special Stitches
tr2tog - treble crochet 2 stitches together
tr3tog - treble crochet 3 stitches together
dc-spike - spike stitch using dc, worked in row below current row being worked
Please see my stitch guide for a explanation on how to work these stitches if required

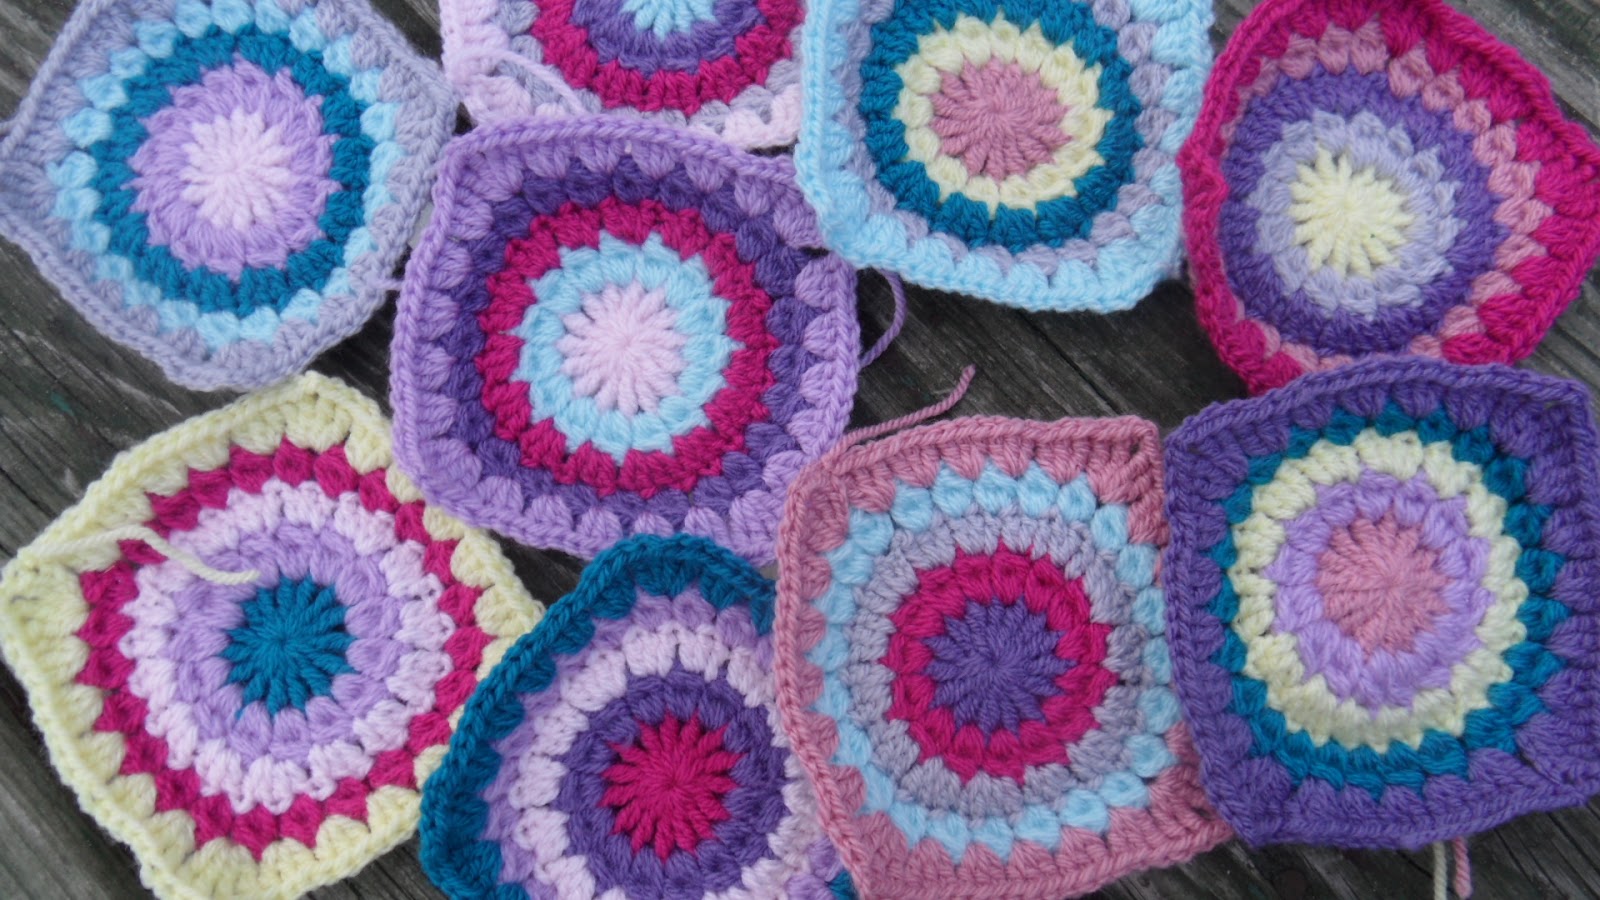
Make 7,
With Yarn A make a magic ring and work first round into ring (alternatively you can make ch2 and then work into the 2nd chain)
Round 1 - Ch2, tr2tog (this counts as 1 st), *ch3, tr3tog*, repeat from * to * 3 times, ch3, join with a sl st to top of beginning tr2tog (5 sts)
Fasten off and join any Yarn B to any ch3 sp of previous round
Round 2 - Ch1 (does not count as a st), *1 dc into ch3 sp, 1 dc-spike, 1 dc in same sp, 1 dc into top of next tr3tog*, repeat from * to * 4 times and join with a sl st into top of first dc (20 sts)
Round 3 - sl st into next st (should be top of a dc-spike from previous round), *ch5, work 1 dc in second ch from hook, 1 htr in next ch, 1 tr in next ch, 1 dtr in last ch, sl st into top of next dc-spike*, repeat from * to * 4 times, join with a sl st in st where first ch5 was made (20 sts)
Fasten off and weave in ends
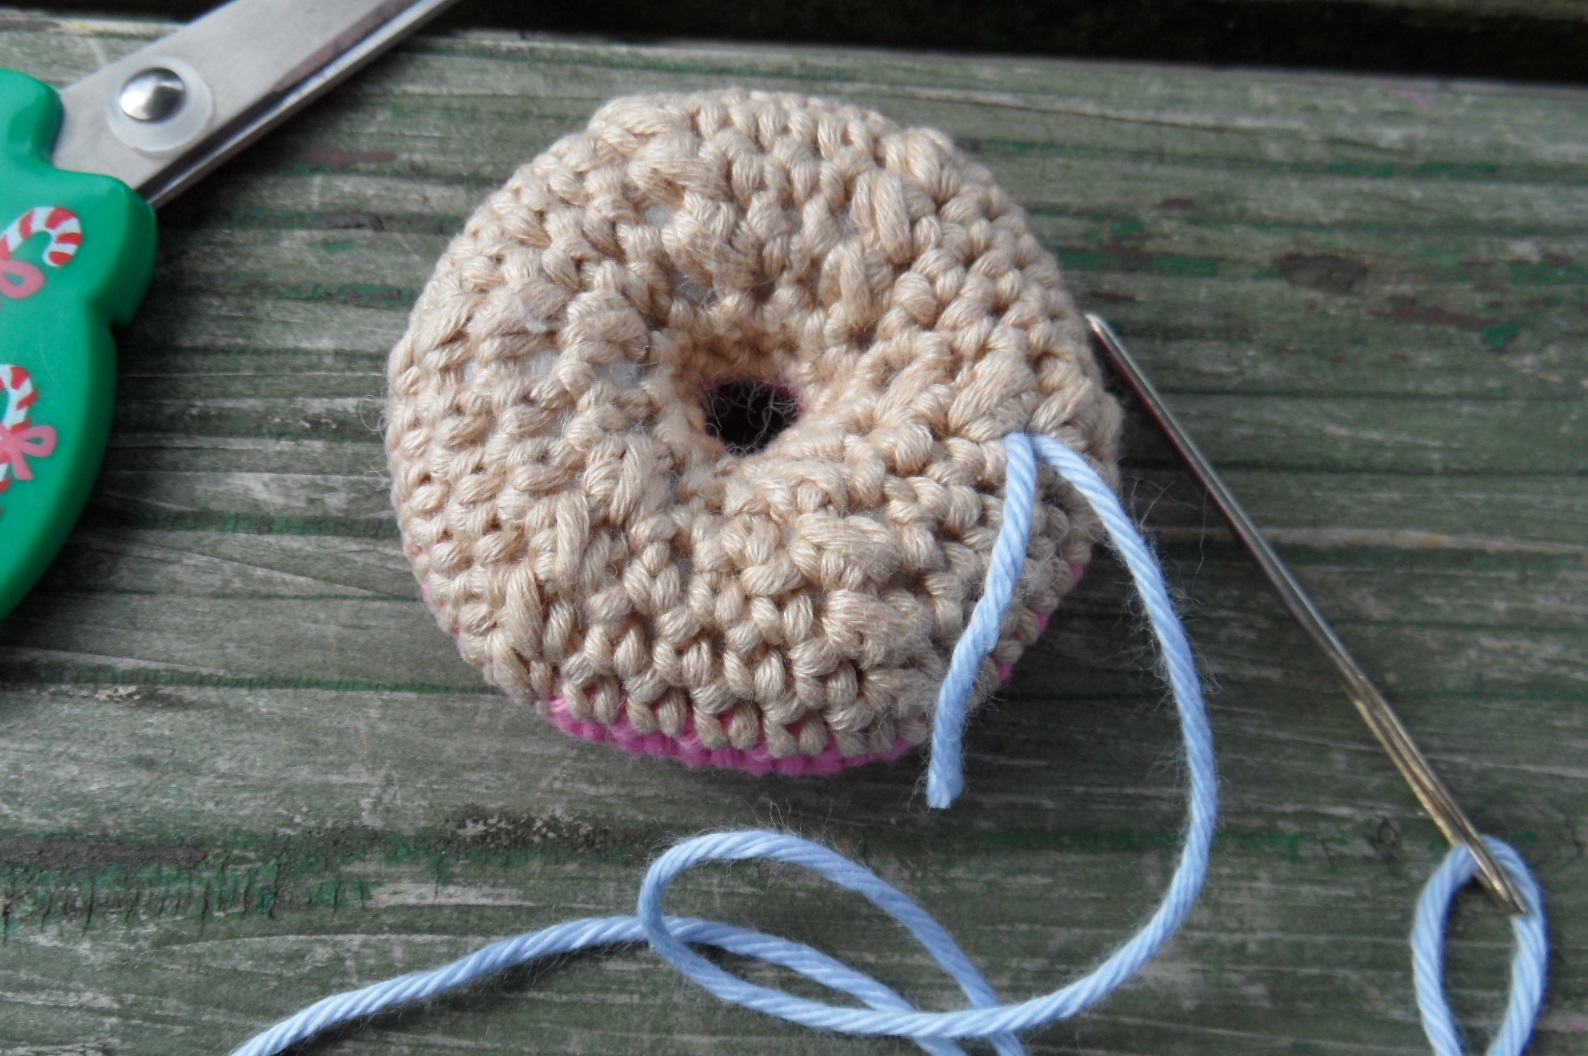
Tassels
Make 8,
Using Yarn A and Yarn C, make your tassels, using twice as much white as silver with the silver used last so it is on the top of the tassels
Making Up
With Yarn C ch40, 1 dc into the top of a tassel, ch20, dc into the top of any of the 5 points of a star, continue to with the rest of the stars and tassels, working ch40 at the end

Happy Hooking!
Kelly@lovedotty

© All images belong to Kelly of lovedotty unless otherwise stated. Please link to pictures, content or DIY's if used on your own website. Crochet patterns are written by Kelly of lovedotty unless otherwise stated, please link to original post if used on your own website. Feel free to sell the finished product that has been created from the pattern, if sold via a website, please link to lovedotty blogspot. However please do not publish patterns in full or as your own, unless agreed by Kelly of lovedotty


