For this tutorial I will be showing how I embroidered the sprinkles onto my mini donuts, however the principle is the same whatever you are embroidering and this will give the basic idea.
So here we go...

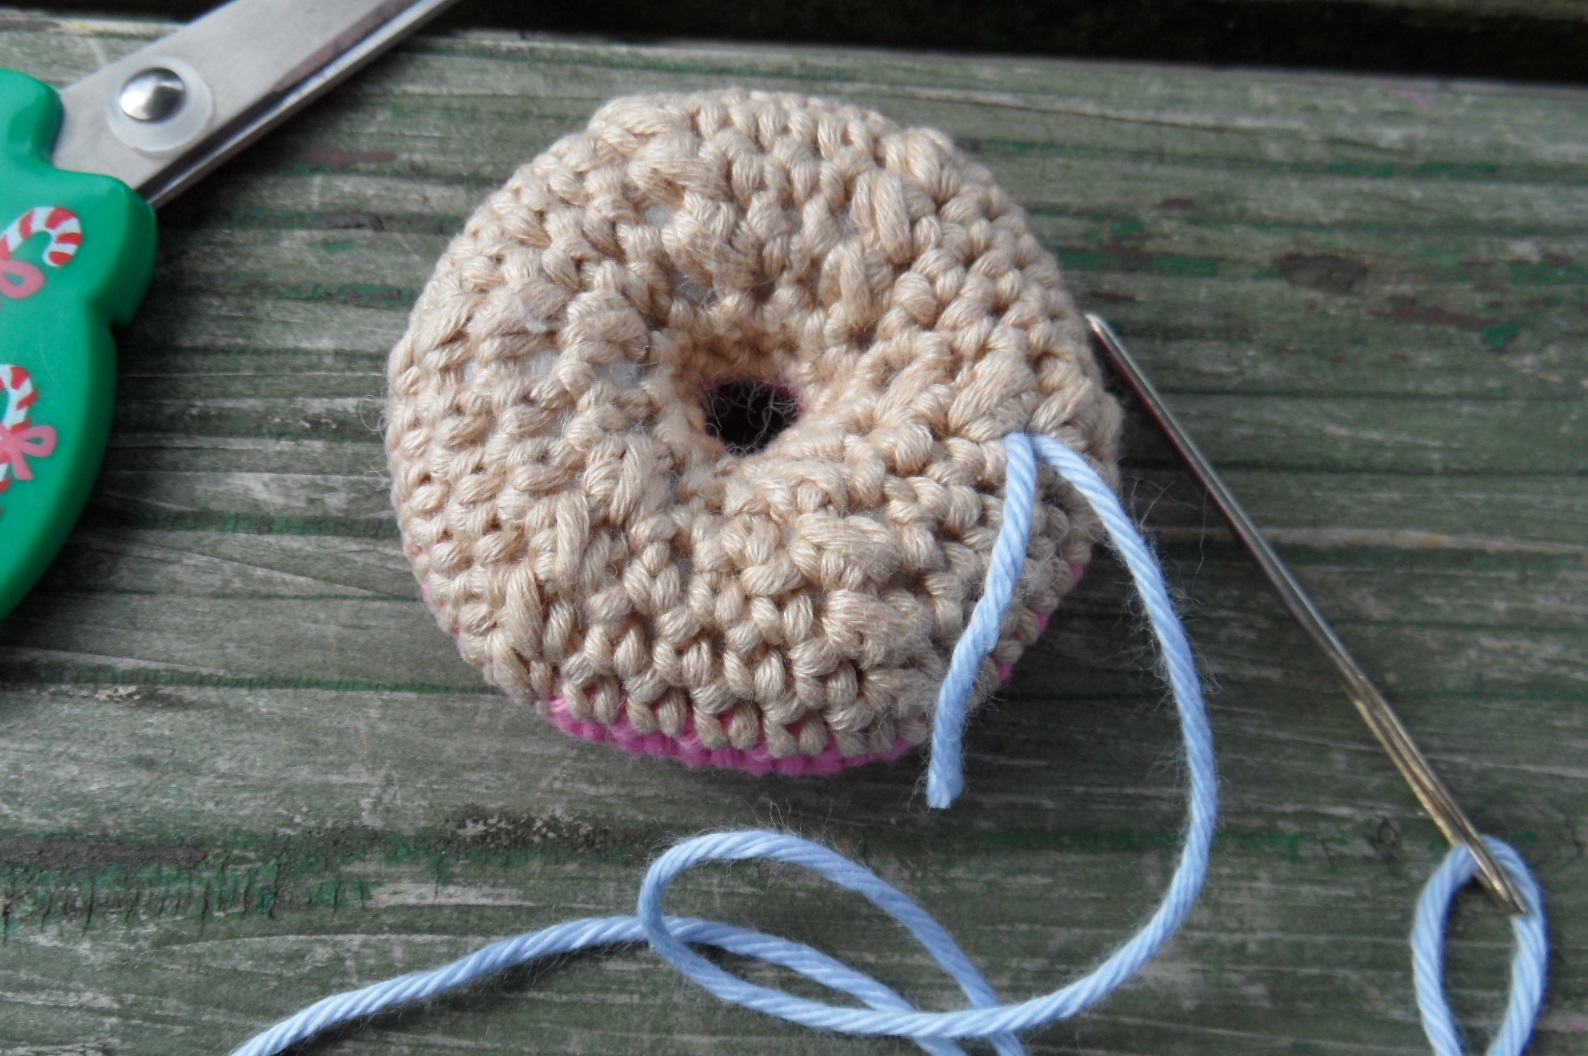
Cut a piece of yarn long enough to do all the embroidery required. So for my piece I am going to embroider blue sprinkles onto my pink mini donut..

Thread the yarn onto a wool needle. Decide where on the piece you will be beginning your embroidering and insert the needle into the bottom of the piece near to where you are beginning..

Pull the needle all the way through to the top of piece, coming out of the area where you will be beginning your embroidery..

Pull the yarn through until you leave a little tail on the bottom half, enough to be able to tie into a knot later. You will need to either secure this or hold it so it doesn't pull through when you begin your embroidery..

Begin working your embroidery as required. For my sprinkles, I made lots of random lines across the top of the donut..


When you have finished embroidering, on your last stitch, you need to insert the needle all the way through the piece and out of the same hole on the bottom you worked the first stitch into, where the tail should still be..
Pull the yarn through and your should be left with two ends of yarn poking out of the same hole..

Cut the yarn and then tie both pieces together into a knot and pull firmly to secure, keep an eye that you don't pull too tight in case it pulls at the embroidery you have just completed..


Repeat as required, as I did with my finished donut!
I hope this made sense and you find it useful! If you fancy trying out your skills, you can use them on my FREE Mini Donut pattern on my blog!
Happy hooking!
Kelly@lovedotty

© All images belong to Kelly of lovedotty unless otherwise stated. Please link to pictures, content or DIY's if used on your own website. Crochet patterns are written by Kelly of lovedotty unless otherwise stated, please link to original post if used on your own website. Feel free to sell the finished product that has been created from the pattern, if sold via a website, please link to lovedotty blogspot. However please do not publish patterns in full or as your own, unless agreed by Kelly of lovedotty

© All images belong to Kelly of lovedotty unless otherwise stated. Please link to pictures, content or DIY's if used on your own website. Crochet patterns are written by Kelly of lovedotty unless otherwise stated, please link to original post if used on your own website. Feel free to sell the finished product that has been created from the pattern, if sold via a website, please link to lovedotty blogspot. However please do not publish patterns in full or as your own, unless agreed by Kelly of lovedotty
No comments:
Post a Comment